


If you’re familiar with the struggle of a disconnected AI creation process, one tab for an image generator, another for video, and a third for voiceover, then the Artlist AI Toolkit is the solution you’ve been waiting for.
It is the platform that connects all three, seamlessly. High-end AI video, image, and voiceover tools now live side-by-side. They are designed to keep you inspired and in the creative flow, allowing you to generate every element of your project in one unified interface.
Step-by-step walkthrough
Below is your guide on how to use the platform, plus some valuable tips on how to maximize your output.
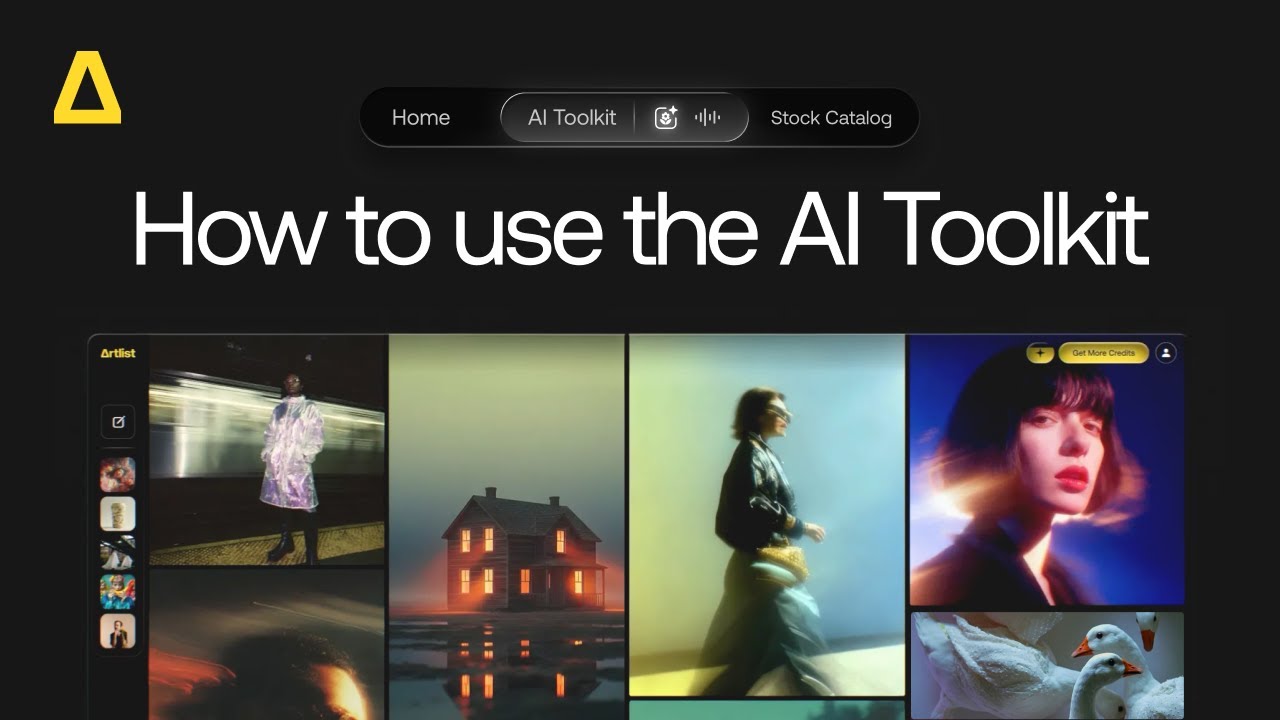
1. Navigation bar and credits
The top bar is your command center. Here, you can instantly toggle between the tools:
- AI Toolkit – for AI Image, AI Video, AI Music or AI Voiceover
- Stock Catalog
- AI Studio – Coming soon!
Plus, keep an eye on the top right: This is where you track your AI credits. You can watch your balance update in real-time as you switch between models and generate assets.
2. Creating AI images
Start here to visualize concepts or create AI images.
- Select AI Image: Choose your model and type your vision into the prompt box.
- Add references: Upload a reference image (with image to image models) to help the AI understand the composition or style you need.
- Refine instantly: Click Auto-Prompt on the right of the prompt box (on selected models) to create a more detailed, descriptive prompt based on your initial idea.
- Model and settings: Choose your preferred model (note the credit cost per model). Then, set your Aspect Ratio, Resolution, and Duration.
- Negative Prompt: Use this to exclude unwanted elements, for example: blurry, text, or shadow, on supported models.
- Guidance Scale: Control how closely the AI follows your prompt.
- Generate: Hover over the button to confirm the credit cost, then click Generate.
Your image will appear in your session history, along with your other creations, on the left-hand side. From there, you can:
- Save Favorites
- Add to Artboards
- Upscale for higher quality
- Recreate and reuse the prompt
- Download to use in your projects
- Delete unneeded creations
3. Creating AI videos
Select Generate video to bring your ideas to life.
- Select AI Video: Choose your model and type your vision into the prompt box.
- Prompting: Enter text. For models that support Start/End Frame, upload a Start Frame image for specific transitions, and an End Frame to control the video’s start and finish.
- Add visuals: Upload reference images or videos for more control over your outputs.
- Fine-tune: Adjust Duration, Aspect Ratio, and Resolution. Model-specific settings update automatically.
- Add Audio: Options include auto-generated sound effects or dialogue on selected models: Kling 2.6 Pro, Kling 2.6, Veo 3.1, and Veo 3.1 Fast.
4. Creating AI music
- Select AI Music: Choose your model.
- Prompting: Describe the song you want to create. Add details like instruments or vocal style.
- Add an image: Optional, add a reference image.
- Fine-tune: Choose your settings such as, duration, lyrics, genre, theme, mood and tempo.
- Generate: Click the arrow to check the credit cost and generate. Your music file will appear in your sessions, ready to review.
5. Creating AI voiceovers
Generate dialogue or narration in seconds.
- Explore: Click Voiceover at the top, then select the Voice catalog at the top of the prompt box to explore all voices. You can preview voices or create your own from scratch.
- Filter: Select your specific model (including Eleven Multilingual v2, Eleven v3 Alpha, Minimax 02 HD, and Cartesia Sonic 2).
- Select the language: Choose from all the major global languages.
- Choose the category: Filter by use case, whether it’s for social, documentary, commercials, or more.
- Refine: Filter by gender and age to match your character or project needs.
- Customize: Once you have a voice, you can adjust the accent, Speed, Emotion, and apply Voice Effects (like Announcer, Pro Studio, and more) in the settings at the bottom of the prompt box.
- Generate: Click the arrow to check the credit cost and generate. Your audio file will appear in the session, ready to review.
- Settings: Here, you can play the voice, see the prompt and settings, download, rename your voices, save to Favorites, Artboards, and delete if needed.
- Voice Cloning: Upload an audio file to create a custom voice that you can use in any of your projects.
You can also navigate to the high-quality Stock Catalog from the Toolkit to download original footage, music made by real artists, sound effects, templates, LUTs, and plugins.
Tips for the Toolkit
To get the most value out of the Artlist AI Toolkit, here are some ways to maximize output, save credits, and improve quality:
1. Get inspired
The Toolkit is your place to get inspired with tons of ready-made creations by leading AI artists and creators. You can select the image or video you like, view the settings, steal the prompt, and recreate it to add to your own projects.
2. Start with images first
High-quality video generation consumes more credits than image generation.
Proper world-building starts in the AI Image tab. Iterate there until you get the perfect lighting, character look, and composition. Once you have the perfect still image, use that as your Start Frame in AI Video. This gives you higher control over the final video look and ensures you aren’t guessing or wasting video credits.
3. Utilize Negative Prompt
If the model allows it, instead of hoping the AI understands what you want, explicitly tell it what you don’t want. For example, “No shadows, no trees, no yellow flowers.”
You can use negative prompts with the following models: Kling 1.6, Kling 2.1, Kling 2.1 Master, Kling 2.5 Turbo Pro, Kling 2.6 Pro, Veo 3.1, Veo 3.1 Fast, Wan 2.6, and LTX 2.0 Pro.


4. Let “Auto-prompt” teach you
The Auto-prompt feature in the prompt box is a great teacher. Watch closely for the adjectives, technical terms, and descriptive language it suggests — like cinematic lighting or camera pans. Learning these keywords will help you craft stronger, more effective manual prompts in the future.
5. Session history is your sandbox
Your history tab saves your settings, not just the image. This matters because if you generated a specific style three days ago that you want to replicate today, you don’t have to guess. Go to your history, select the image, and view the Prompt and Settings. You can recreate or edit directly from there.
Ready to create?
Get started with the AI Toolkit with everything you need to visualize, animate, and bring your ideas to life, organized in one place.
Did you find this article useful?


